
Custom roles
Ce contenu n’est pas encore disponible dans votre langue.
In short
Section titled “In short”The built-in roles fit most teams. When one doesn’t, for example a fraud desk lead who works cases and approves list changes but shouldn’t approve rules, you can create a custom role: a name, a short description and a set of permissions picked from a list that explains each one in plain language.
You need Manage people and roles (users.manage), which administrators have. In most
workspaces, creating, changing and deleting a custom role also needs a second person’s approval:
see Approvals.
Where to find it
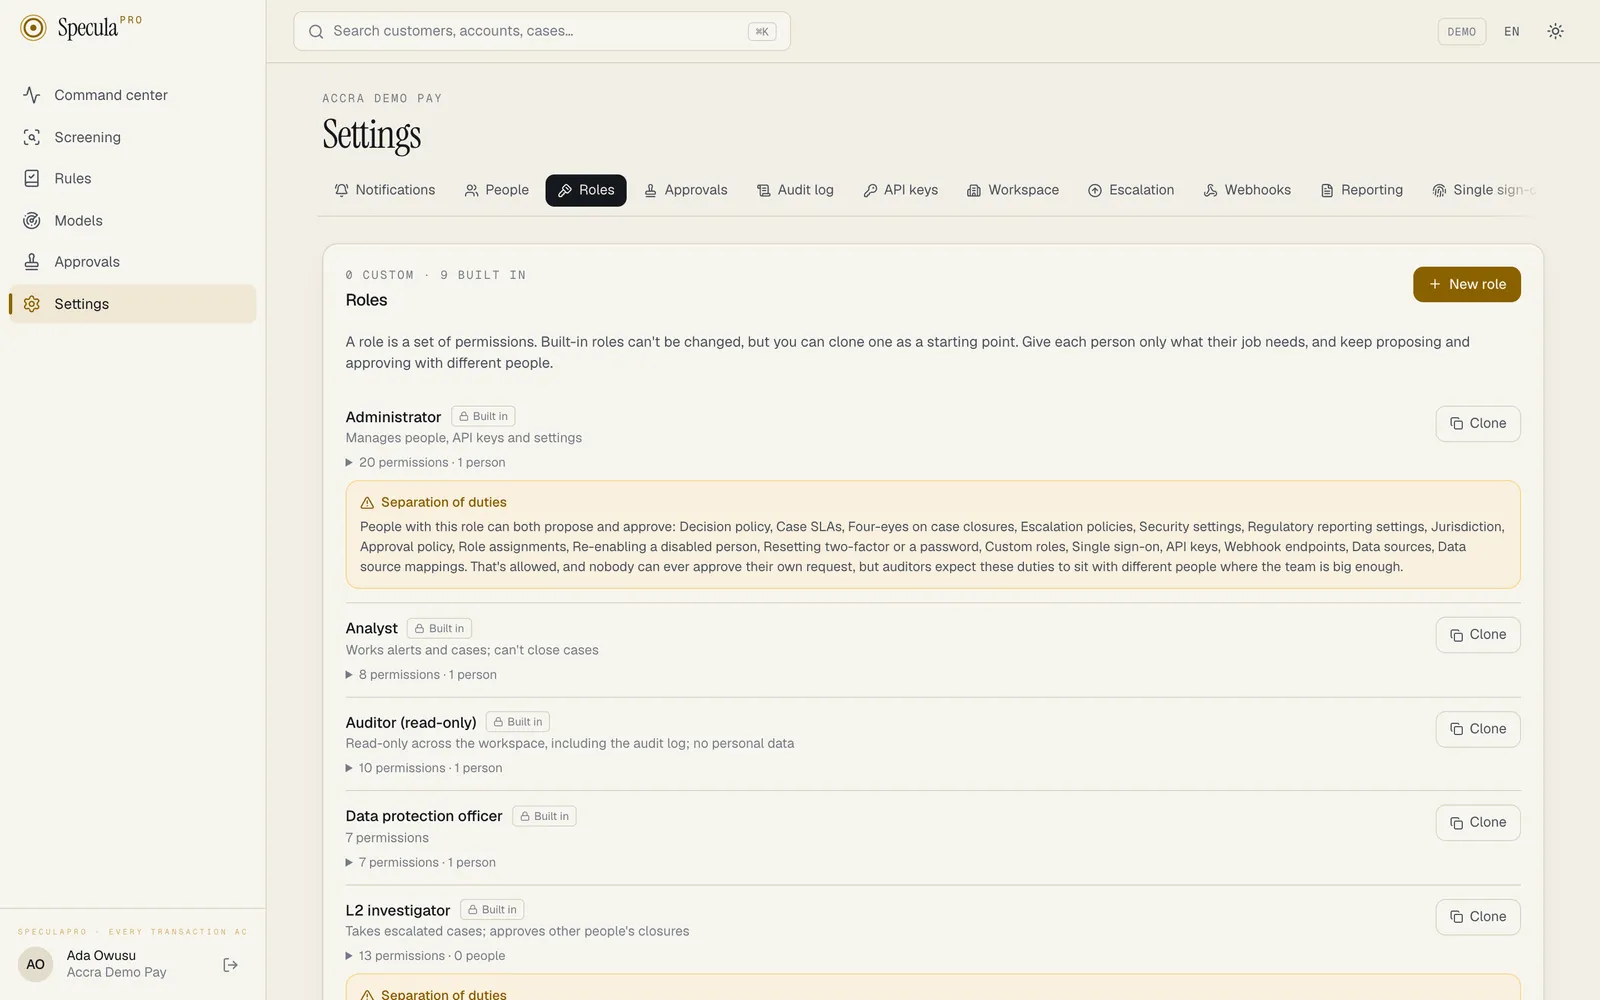
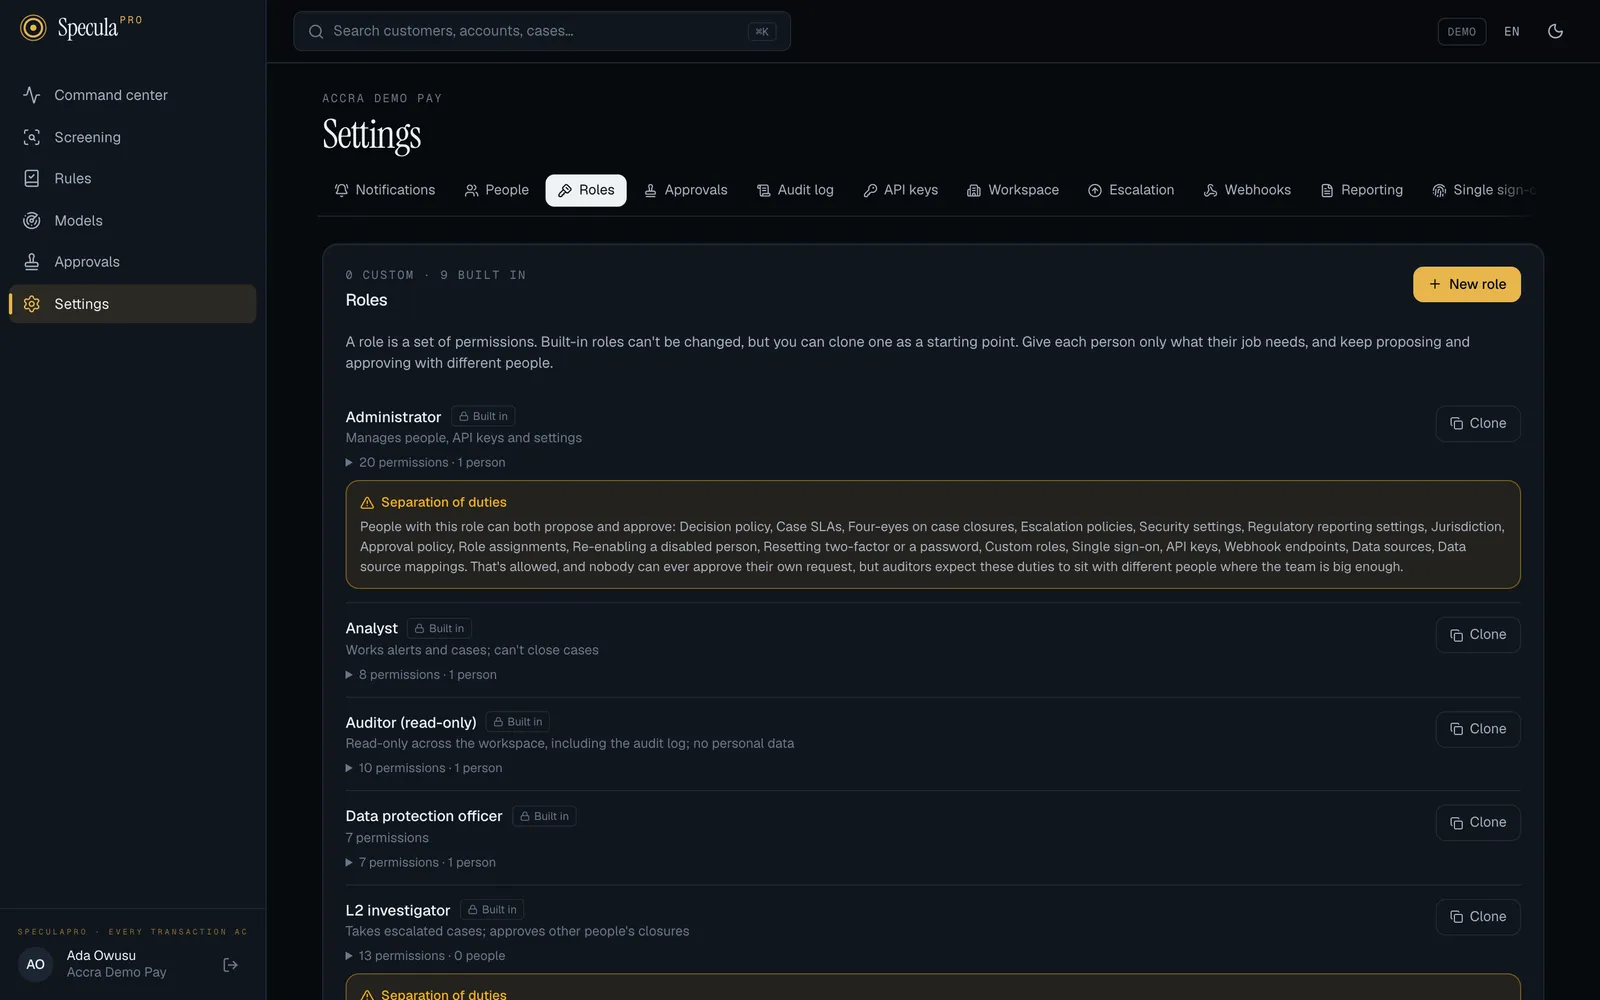
Section titled “Where to find it”Settings → Roles lists the built-in roles, marked Built in, and your custom roles, each with
its description, how many permissions it has and how many people hold it. Expand a role to see its
permissions. People with settings.view (for example the Auditor) can read this tab but not change
anything.
How to create a role
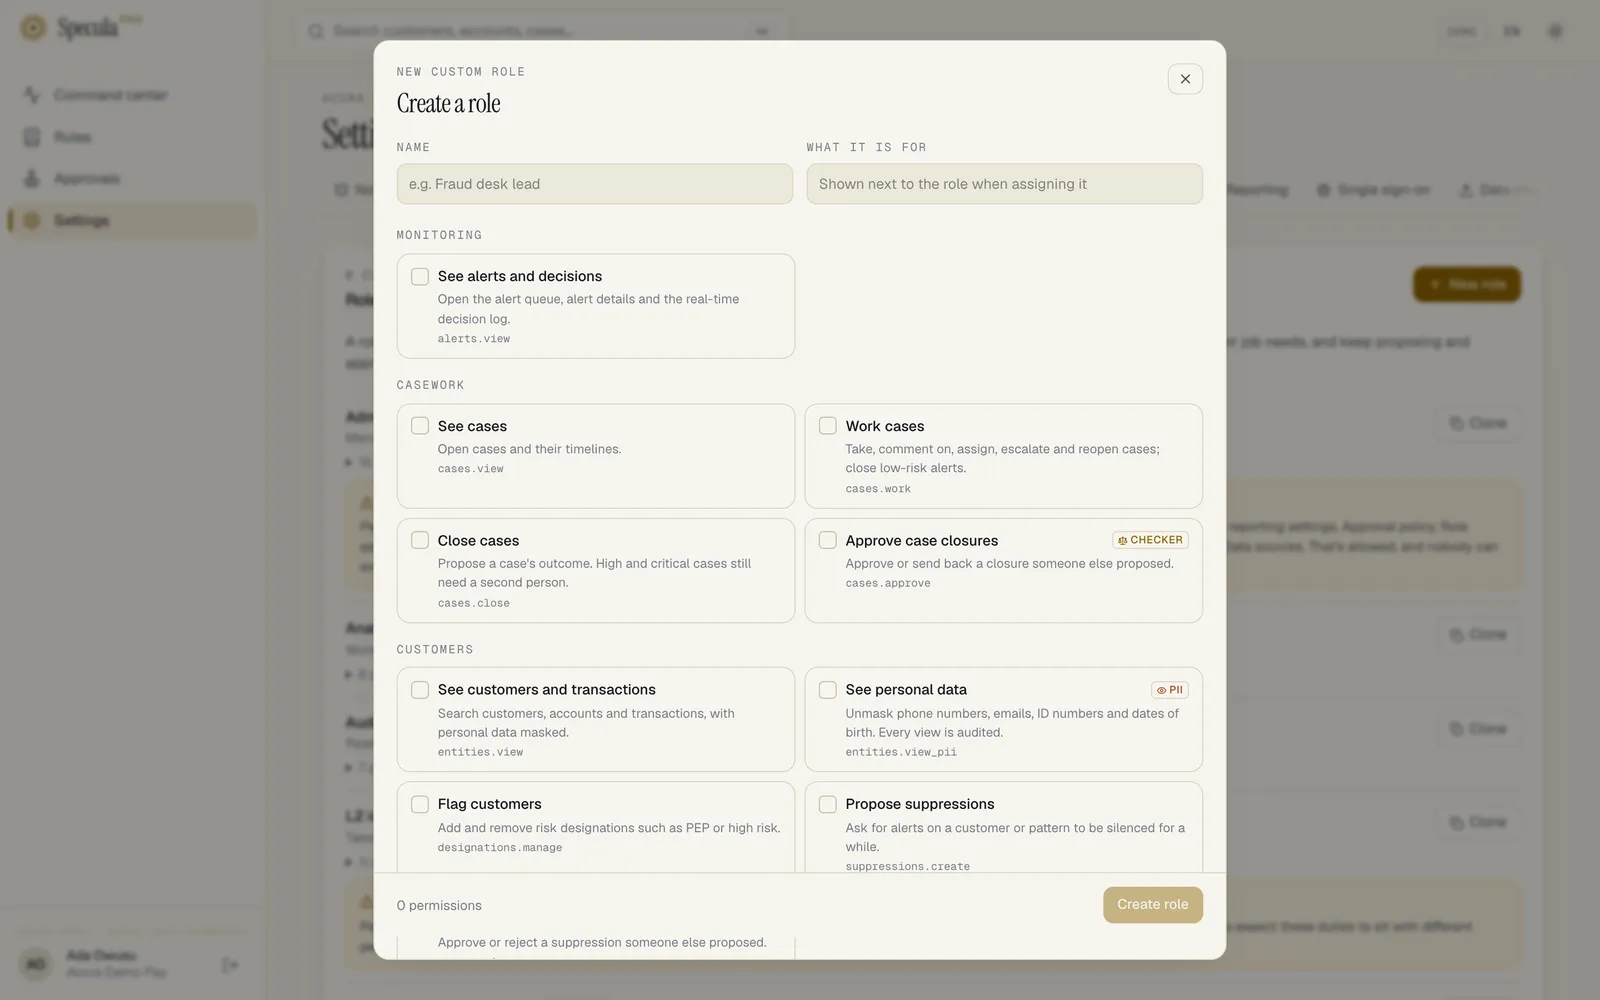
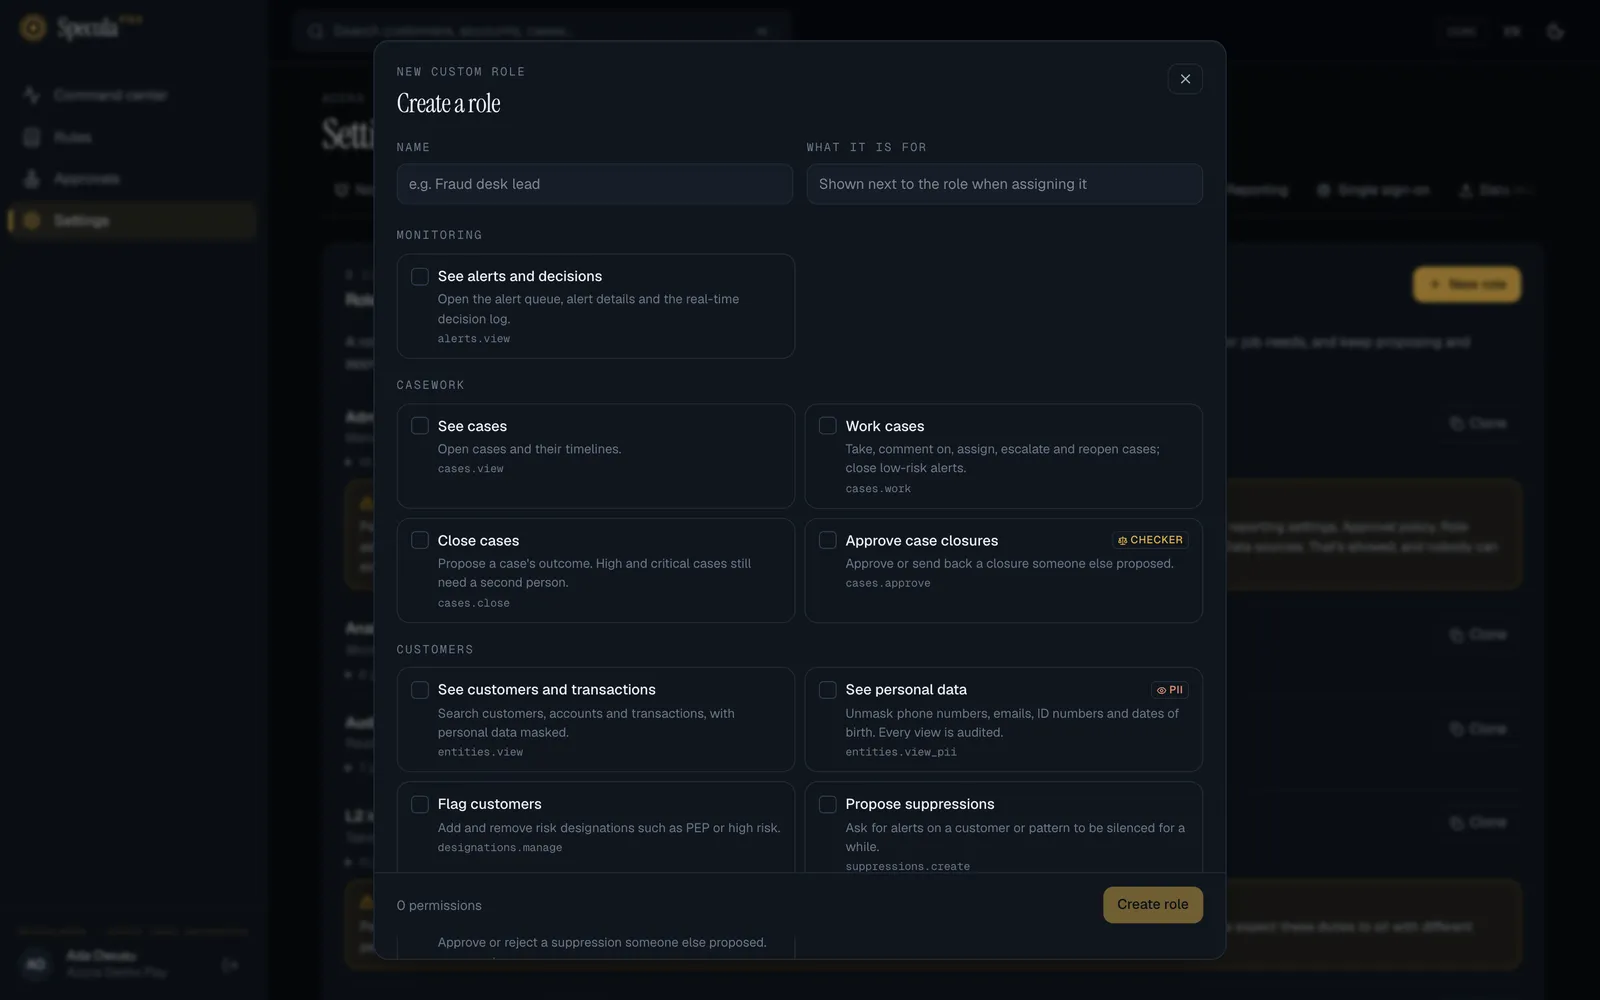
Section titled “How to create a role”- Go to Settings → Roles and select New role. To start from a built-in role instead, select Clone next to it: the new role starts with that role’s name followed by (copy), its description and its permissions.
- Enter a Name (2 to 80 characters, unique in the workspace), for example Fraud desk lead, and What it is for (up to 500 characters), shown next to the role when you assign it.
- Tick the permissions the job needs. They are grouped (Monitoring, Casework, Customers, Detection, Reporting, Oversight, Administration, Integrations), each with what it allows and its key. Checker marks a permission that approves what someone else proposed; PII marks one that shows customers’ personal data.
- Read any Separation of duties warning (below).
- Select Create role. If custom roles need approval in your workspace, give a reason and send it for approval instead.
The role’s key, its stable identifier, is made from the name (for example fraud_desk_lead)
and can’t change later. Through the API you can choose it yourself: lower-case letters, digits and
underscores, starting with a letter, and not the key of a built-in role. A role needs at least one
permission.
Then give the role to people under Settings → People. Giving someone a role that adds a privileged permission they didn’t already have (management, approval, personal data, the audit log, reports, risk flags or data protection) may itself need approval: see Managing people.
Separation of duties
Section titled “Separation of duties”A role that holds both sides of a maker-checker pair, for example lists.manage and
lists.approve, shows a Separation of duties warning: People with this role can both propose
and approve: …. It is a warning, not a block. SpeculaPro still never lets anyone approve their own
request, but auditors expect proposing and approving to sit with different people where the team is
big enough. The same warning appears on a person under Settings → People when their roles
together hold both sides.
The built-in Administrator and MLRO roles carry such warnings by design: in a small team, the administrator proposes access changes another administrator approves, and the MLRO both drafts and approves reports, but never their own. The L2 investigator both closes and approves case closures, again never their own.
How to change a role
Section titled “How to change a role”- In Settings → Roles, select Edit next to the custom role.
- Change its name, description or permissions, and select Save role.
While a change to a role is waiting for approval, its Edit and Delete buttons are disabled.
Things to know:
- Built-in roles can’t be changed or deleted. Clone one instead.
- You can’t add permissions to a role you hold yourself. That would be granting yourself powers: ask another administrator. Removing permissions from it is fine.
- The change applies at once to everyone who holds the role, at their next request.
- If approval is required for a kind of change, a role edit that would leave fewer than two people able to approve it is refused. See Approvals.
How to delete a role
Section titled “How to delete a role”Select Delete next to it. You can delete a custom role only when nobody holds it (Move its people to another role first) and single sign-on doesn’t map any group to it (change the SSO role mapping first). Deleting is recorded in the audit log with the role’s last permissions.
What is recorded
Section titled “What is recorded”Every create, change and delete is in the audit log as role.create,
role.update or role.delete, with the role before and after, including its permissions.